Stuck?  support@mecway.com
support@mecway.com
Mecway
FEA
2d automesh from element edge selection

Hi,
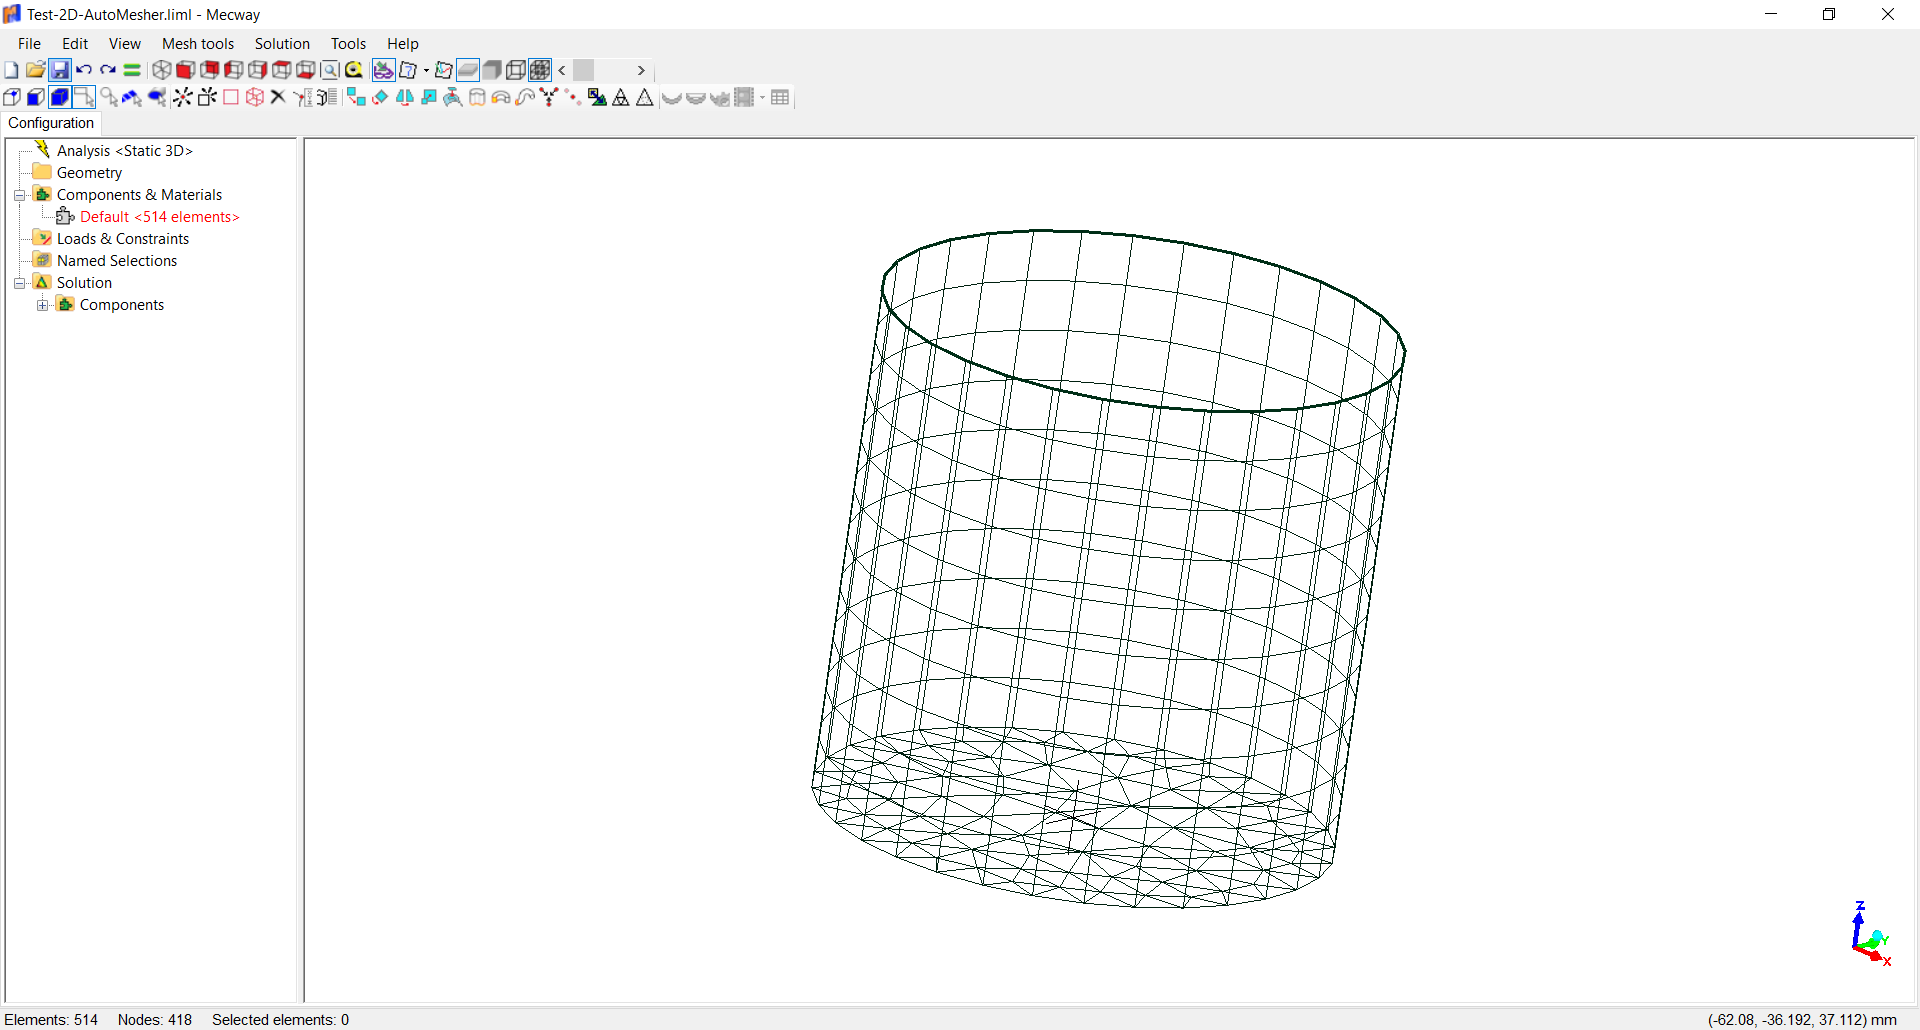
I often would like to select the nodes around the edge of a aperture in a surface mesh and automesh this planar region.
Please see the image below, I have created a circle with Curve Generator, merged nodes, selected the edge nodes, changed the selection to edges, and extruded to form a cup. This shape in my example is arbitary except that the open top rim is planar. In order to automesh the missing top lid of this 'can of baked beans', I have to Create>Element>Line2 around the edge. Selecting the Line2 elements allows an automeshed surface.
Is there a shortcut that I am missing?
Are the Line2 elements the only way to achieve the automesh?
Can the Tri3 edges not be used?
Can the Line2 elements be created en-masse?
Kind regards,
Tim
Howdy, Stranger!
It looks like you're new here. If you want to get involved, click one of these buttons!
Comments
Select the lip nodes, change the selection to edges, and extrude as usual but just one subdivision.
Then collapse (*) this short shell ring.
(*)Collapse means to reduce the element dimension by one. Volume to shell, shell to line or line to point. To do it select all the nodes in a row and drag to the next row. See sequence picture. Merge when requested.
If you have quadratic elements collapse + merge will be twice as you have the middle nodes in-between.
Don’t worry about the bad elements warning. Once you finish the collapse it should be ok. Pay attention that your elements do not end up merged or hidden with the rest of the model. Create new components after operations. In the new Mecway version is easier as the new elements remains selected.
This method may also allow you to create shells from one facet of a solid.
@Tim_Gowing: My first thought was to save the meshed bottom elements in Named Range, then copy to your can's top after extruding the sides. But thanks for bringing this up. This alternative method opens up more possibilities. Incidentally, the Plate Mesh routines are nice for building centric geometries, and they provide decent quadrilateral shapes too.
I'm also finding the Hole function quite useful for things like bolt holes and other "aperatures".
Thank you very much for sharing this very clever trick, I've tried it, fantastic.
I am needing to transition from a tet mesh to a structured manual mesh. This method of closing a shell skin should allow me to 3d automesh a transition volume, say a prism with 2d automesh tri6s at one end and structured mesh quad8s at the other.
@cwharpe
I'm glad to hear that you can use this trick also.
I have only just noticed the Hole function, yes, very useful too. Thank you Victor.