Potential New User: Composite Beam of two materials
Hello,
I have a commercial application for an 8’ rectangular hollow beam of one material and a second material that fully fills the inside of the beam and is bonded to the inside forming a 2 material composite.
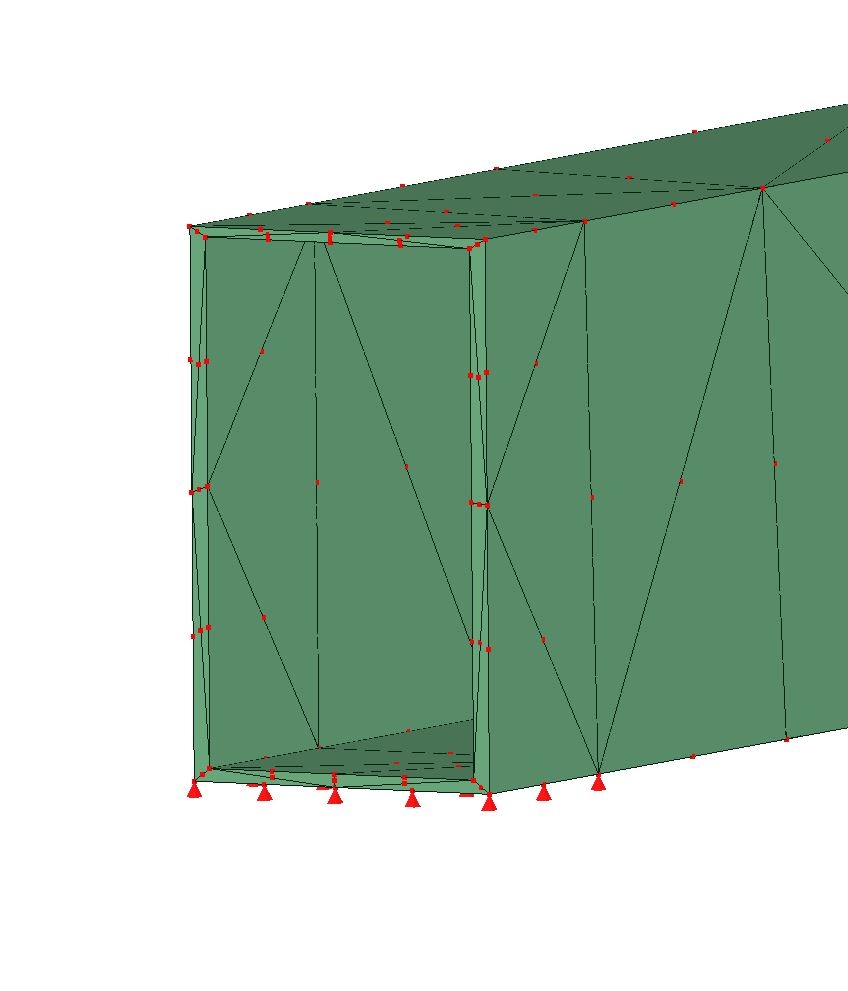
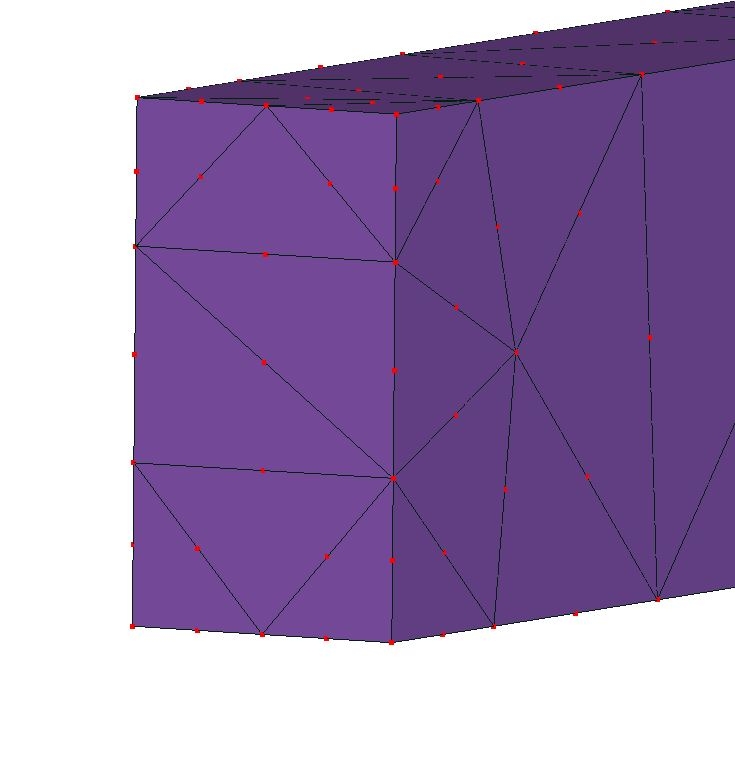
To get my understanding of Mecway’s capabilities, I built two very simplified geometries that are pretty far from what my actual model needs to be (in order to keep the number of elements below the demo software limit. Beam=273 elements & Filler=122 elements). The simplified model import went fine as well as adding the two necessary constraints symmetrically at the beam ends.
My interest in testing this is to see if Mecway can develop a composite stress/strain solution and, most importantly, see how the ballpark stresses look like with the trivial model (assuming that the software will be able to crunch the two final models that will have ~100X more elements each).


If a composite stress/strain solution, using the two bonded parts, can be done in Mecway, the second question (as a noob to Mecway) is how do I place custom loads on the beam top?
I need 16 varying force loads that are appx 0.3”x 0.175” in area, located down the center of the beam top (appx 1.5” wide) at specific distances from the start of the beam.
What method should I use to add these custom load areas into the top plane so I can assign them their individual forces?
Appreciate your kind assistance!
Best regards,
Bruce
I have a commercial application for an 8’ rectangular hollow beam of one material and a second material that fully fills the inside of the beam and is bonded to the inside forming a 2 material composite.
To get my understanding of Mecway’s capabilities, I built two very simplified geometries that are pretty far from what my actual model needs to be (in order to keep the number of elements below the demo software limit. Beam=273 elements & Filler=122 elements). The simplified model import went fine as well as adding the two necessary constraints symmetrically at the beam ends.
My interest in testing this is to see if Mecway can develop a composite stress/strain solution and, most importantly, see how the ballpark stresses look like with the trivial model (assuming that the software will be able to crunch the two final models that will have ~100X more elements each).


If a composite stress/strain solution, using the two bonded parts, can be done in Mecway, the second question (as a noob to Mecway) is how do I place custom loads on the beam top?
I need 16 varying force loads that are appx 0.3”x 0.175” in area, located down the center of the beam top (appx 1.5” wide) at specific distances from the start of the beam.
What method should I use to add these custom load areas into the top plane so I can assign them their individual forces?
Appreciate your kind assistance!
Best regards,
Bruce
Howdy, Stranger!
It looks like you're new here. If you want to get involved, click one of these buttons!

Comments
The tube mesh you showed is likely too coarse being made from tet elements (automesher). Other ways to mesh it that will probably give better results and/or fewer nodes are:
- Make a surface mesh then delete all except the inner or outer surface and extrude that (Mesh tools -> Extrude) to form a hex-dominant solid. Could have problems with self-intersection if there are complex details though.
- Extrude the outer layer of the core so it's made from wedge elements. Wedge isn't as good as hex but won't need contact between the two parts.
- Use shells. You can make them from the outer faces of the core using Mesh tools -> Hollow and define Shell offset to position them half a thickness away. Shells won't show through-thickness stress due to the loads.
- Use two coincident beam elements with Rectangular bar and Rectangular tube sections. Might be needed if you have a big space-frame, and you can still use solids for areas of interest.
Some options for the loads:
- Make the load patches as split surfaces (edges that don't alter the geometry) in CAD so they become selectable surfaces with correctly defined edges in Mecway.
- On arbitrary mesh, define the load (Pressure or Traction) as a formula that describes the shape of the load area. A helpful function for uniform loads is the heaviside() step function, or for a conical/triangular load distribution, unittriangle(). Gets complicated if they're not axis-aligned.
- Make the load patches as separate shell meshes with near-zero Young's modulus and connected to the surface with bonded Contact.
Thanks for the good info.
I spent a good while with the manual and cleared up my procedural issues with assigning forces, constraints, etc. Split surfaces worked perfectly. Your vids are very helpful and sped up the GUI learning curve. I ran several trivial components and was able to see stresses, deflections, etc. That all looked good.
When I tried meshing an actual work extrusion that on the front burner to analyze, I pickup some errors, Elements ~ 454,000. (This extrusion is 1.5x5.5x73"& I'm running an i7 w16Gb.)
1: Error during meshing: "divide edge: Local h too small, CORRECTED" (Using Netgen)
2. 2007 bad elements were straightened. Their midsize nodes don't conform to curved geometry surfaces. (Completed when using Netgen6)
I gave a second look to the surface that I used to extrude the component and it look clean under close scrutiny. I re-extruded it and exported it as a STEP, but had the same results.
I'm also not sure if my STEP schema is proper or if it makes any difference. I've got 4 options. Do you have a preference to which should be used?
I appreciate you giving these a look to give me some guidance to work through these issues. (I def need to ramp up my skills/understanding of how to properly mesh.)
Best regards,
Bruce
If the loads are lateral to the front side you could even work with a one element thickness model. Be aware that your part is symmetric, you could work also with half part, or mesh half and then make a symmetric copy in Mecway if the bc are not symmetric.
The warning about midside nodes isn't fatal. It just means that it had to move some midside nodes off the surface to correct badly distorted elements so it's not faithful to the original geometry. You can have a look at the mesh, probably on interior radii to see how serious it is. If it's important, put a local refinement there or increase the number of elements per curve in Meshing parameters.
All those common STEP formats are supported - AP203, 214, 242.